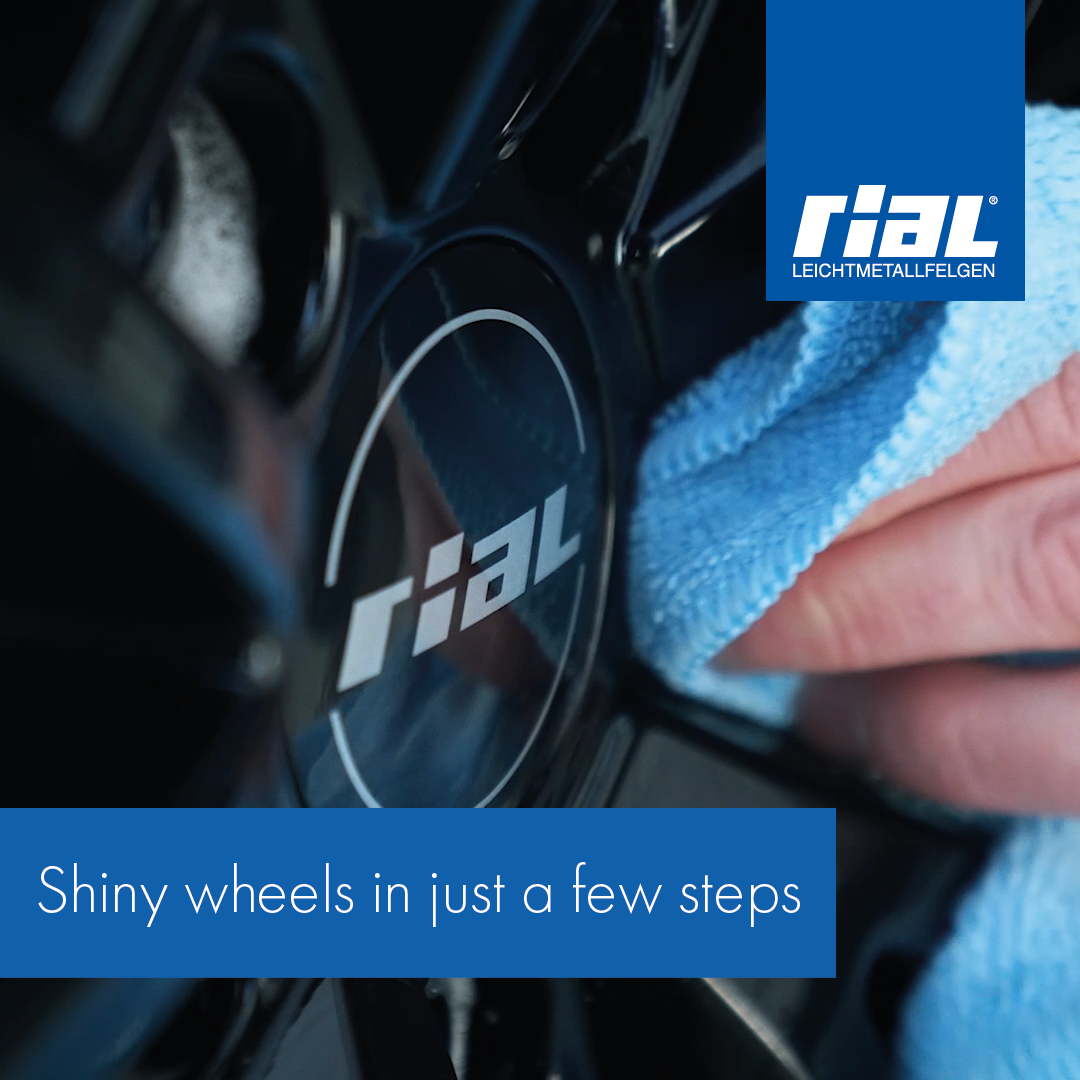
Any well maintained car should have radiant wheels. That’s why more intensive care is sometimes needed, which you can easily prepare in advance. In this article we explain what to look out for, the ideal time for cleaning wheels, and what materials are used.
The right time
Ideally, your wheels are regularly cleaned when you drive through the car wash or clean them at a self-service washing station. Comprehensive cleaning that includes smaller crevices is recommended twice a year when you change the tires: once in October and once around Easter.
If you have your tires changed at a workshop or tire dealer, you can take advantage of the cleaning service many of them offer. If you change your own tires and want to clean the wheels yourself, there are a few things to keep in mind. Our video gives you a detailed explanation of proper wheel cleaning.
Preparation and materials
Thorough wheel cleaning may require a few supplies, including both cleaning agents and other tools. Here’s our list of materials to ensure you’re well prepared:
- Rim cleaner, either pH-neutral or all-purpose cleaner
- Soft cloth
- Washing glove or washing brush
- Toothbrush or stiff paintbrush
- Microfiber or cotton cloth
- Sealant
For sensitive alloy wheels, we recommend only using cleaning agents that are neither acidic or alkaline. It’s better to use pH-neutral products or normal all-purpose cleaners that are good at dissolving grease. The cloths, towels, and wash glove should be as soft as possible to avoid damaging the surface. To clean the hard-to-reach grooves, you can use a commercially available small brush or a stiff paintbrush. Sealants are available that can be sprayed on or applied by hand.
Step 1 – Remove larger dirt particles
You should start by taking care of the most noticeable grime. The pressure washers at your drive-through or self-service car wash can spray the dirt off your alloy wheels. You can stay put for the following steps, since they’re only permitted at a designated washing areas.
After the preliminary cleaning, it’s important that the wheels dry completely. A cloth can help you speed up the drying process here. Wipe gently in one direction to remove any remaining water and other dirt that may still be present. This simultaneously prepares the wheel for the next step: a dry surface ensures that the cleaning agent will adhere in the best way possible.
Step 2 – Applying the rim cleaner
Once the wheel has dried, it’s time to take care of the remaining dirt. Depending on the type of rim cleaner, you can either spray on the cleaning agent or apply it with a cloth to remove stubborn dirt particles. Be sure to cover the entire surface including any grooves. After applying the cleaner, you get to play the waiting game. For the best result, you need to let the cleaner work for a while. The exact time depends on the product. The instructions will provide information on the correct application and time.
Once the time has passed, grab your washing glove or washing brush. Carefully wipe the wheels to remove the remaining dirt. If the wheels are heavily soiled, don’t hesitate to apply the rim cleaner again and repeat the previous steps several times.
Step 3 – Get every crevice shining
You can reach even the tiniest recesses in the wheel with a small brush or a stiff paintbrush. These hard-to-reach spots require a bit more attention, so you may need to spend a little more time here. A microfiber or cotton cloth is ideal for removing any residual rim cleaner. A final rinse with warm water will wash off the last traces of cleaning agent.
Step 4 – Keeping your wheels clean for longer
It goes without saying that you want to enjoy your sparkling wheels for as long as possible. Sealants make this possible by protecting the material until the next cleaning. Simply apply the sealant to the clean wheel surfaces after they have dried. The proper application may vary depending on which product you choose. Check the attached instructions for tips on how to use the sealant, how long to let it work, and how long your wheels are protected from dirt.
Cleaning pays off in more ways than one
A cleaning session is the perfect opportunity to check your wheels for any minor damage. By taking a close look at the surfaces, you can find bumps, scratches, or other material defects. If you find anything, it’s important to make an appointment at a specialist workshop soon. The specialists there can closely examine the wheels to make sure they’re safe for driving and repair small defects in good time. Alloy wheels may only be repaired if the damage does not exceed a depth of one millimeter.
If there’s any damage deeper than that, you’ll have to replace the affected wheel. You should therefore always take a close look during cleaning. And if you ever need to change your wheels, our Wheel Configurator provides a selection of alloy wheels that fit your vehicle. Take a look and get inspired!


